
That perfect piece of art has finally arrived—the colors are exactly right, the size is ideal, and it’s going to transform your space completely. There’s just one problem: your rental agreement prohibits nail holes, or perhaps you’re facing solid concrete walls that laugh in the face of hammers.
The good news? Those blank walls don’t have to stay that way. Professional designers and decorators have embraced numerous innovative, damage-free hanging solutions that display art beautifully without sacrificing style or stability. Whether you’ve invested in museum-quality prints or cherished family photographs, these methods ensure your walls remain pristine while your wall art ideas take center stage.
Quick-Start Guide: Damage-Free Art Hanging
Need to hang your new artwork immediately? Here’s your five-minute solution guide:
- For lightweight prints and photographs (under 3 pounds): Use properly sized Command Strips placed at all four corners of the frame. Clean both the wall and frame with alcohol before application, then press firmly for 30 seconds.
- For medium-weight framed pieces (3-7 pounds): Combine Command Strips with Command Hooks—strips at the bottom corners prevent tilting while a hook supports the weight from above.
- For statement pieces you want to highlight: Consider an easel display. Modern decorative easels in metal or wood create dimensional interest while keeping walls completely untouched.
- For flexible gallery arrangements: Try a picture rail system. One-time installation at the ceiling line provides endless rearrangement possibilities without additional wall damage.
- For immediate impact with zero installation: Place larger framed pieces directly on the floor, leaning against the wall above furniture pieces. This designer trick creates depth and architectural interest instantly.
5 Professional Tips for Damage-Free Art Display
- Match the hanging method to your art investment – Valuable limited edition prints deserve secure solutions like museum putty or professional hanging systems.
- Consider weight distribution across the wall – Multiple lighter pieces with adhesive solutions create less stress than concentrating weight in one area.
- Remember lighting impact – Position adhesive-mounted art away from direct sunlight or heating vents that might affect adhesion.
- Create balanced compositions – Even without nails, maintain proper spacing (2-4 inches between frames) and appropriate height (eye level at approximately 57-60 inches from floor).
- Test adhesion on an inconspicuous area – Different wall textures and paints respond differently to adhesive products; always test before committing.
Command Strips: The Renter’s Gallery Solution
Command Strips have revolutionized the way we display wall art in temporary spaces. How did we even decorate dorm rooms before? These damage-free adhesive strips distribute weight evenly across the frame, creating a secure bond that can support surprisingly substantial pieces while remaining completely removable.
Best for: Framed prints, canvas art, and lightweight mirrors up to 8 pounds (using multiple strips).
For optimal results, always clean both surfaces with isopropyl alcohol before application, and press firmly for at least 30 seconds during installation. The velcro variant offers additional flexibility—allowing you to remove and reposition your art while leaving the mounting system in place, perfect for those who enjoy choosing wall art for every season.
Professional decorators often use Command Strips for gallery wall installations, particularly in rental spaces or when working with concrete walls. The invisible mounting creates a clean, floating effect that keeps the focus on your art collection rather than the hanging hardware.
Command Hooks: Flexible Positioning for Wire-Hung Art
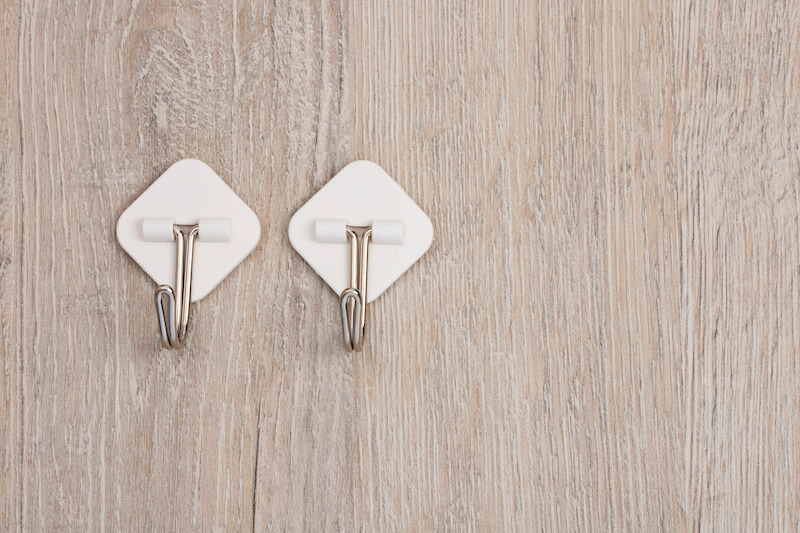
For frames with wire or cord hanging systems, Command Hooks provide elegant solutions that work with your existing hardware rather than replacing it. These adhesive hooks maintain the traditional hanging aesthetic while eliminating wall damage.
Best for: Traditional framed artwork with wire backs, particularly pieces between 3-7.5 pounds.
When installing Command Hooks for art display, precision matters. Measure twice before applying, keeping in mind that the bottom of the hook (not the top) determines your hanging height. For larger pieces, using two hooks distributes weight more effectively and prevents the tilting that sometimes occurs with single-hook installations.
Designer tip: For a more sophisticated look with Command Hooks, consider using black hooks with dark frames or clear hooks with lighter frames to minimize visual distraction. Position the hook high enough that it remains hidden behind the frame when viewed from the front.
Picture Rail Molding: Timeless Elegance Without Wall Damage
For those seeking a more architectural solution, picture rail molding offers historic charm with thoroughly modern flexibility. These narrow wooden strips installed near the ceiling create a traditional gallery hanging system that allows for endless rearrangement.
Best for: Curated collections that change frequently, especially in spaces with higher ceilings.
While installing picture rail requires a one-time permanent modification, it actually preserves wall surfaces by eliminating the need for multiple nail holes over time. The system uses decorative hooks that slide along the rail, with adjustable cords or rods supporting your framed pieces at variable heights.
This method creates a distinctly curated, museum-quality display that draws the eye upward and adds architectural interest to any room. For contemporary spaces, sleek metal rails offer modern alternatives to traditional wooden moldings, while maintaining the same damage-free functionality.
Mantel Displays: Sophisticated Layering Techniques

A mantelpiece provides the perfect platform for creating depth and dimension with your art collection. This nail-free display method has become increasingly popular among interior designers for its ability to create casual sophistication.
Best for: Larger statement pieces, mixed media displays, and seasonal rotation.
To create a balanced mantel display, position your largest piece centered against the wall as an anchor, then layer smaller frames slightly overlapping in front. The trick to this casual yet intentional look lies in varying heights and textures—pair framed canvas prints with smaller photographs, sculptural objects, or complementary accessories.
For added stability without adhesives, museum putty applied to the bottom edge of frames prevents sliding or tilting without leaving residue on your mantel surface. This invisible security measure is particularly important in homes with children or pets.
Bookshelf Transformation: From Storage to Gallery
Bookshelves offer prime real estate for displaying smaller art pieces, creating intimate vignettes that invite closer inspection. This method transforms functional storage into thoughtfully curated display space.
Best for: Smaller prints, photography, and intimate art pieces that benefit from close viewing.
The key to effective bookshelf art display lies in creating breathing room—clear dedicated spaces rather than simply leaning frames against books. Position art slightly forward of surrounding objects to create a focal point, and consider color coordination between spines and artwork for a cohesive bookshelf display.
Interior designers often recommend creating “bookends” of negative space around displayed art pieces—leaving a few inches clear on either side—to prevent visual clutter and draw attention to your carefully selected prints or photographs.
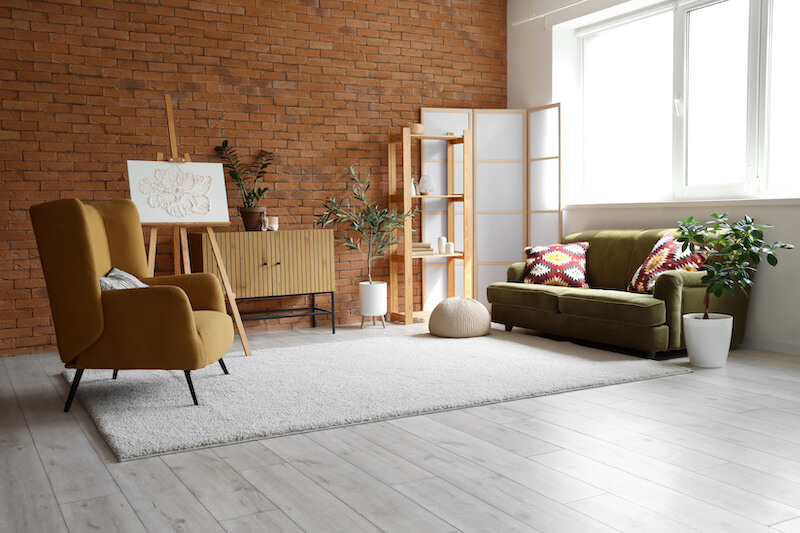
The Art of the Lean: Floor-to-Wall Displays
Perhaps the simplest yet most dramatic way to display large-scale art without nails involves the sophisticated “lean”—positioning substantial framed pieces directly on the floor against the wall. This technique has emerged as a designer favorite for creating casual yet impactful displays.
Best for: Oversized art, particularly pieces 24″×36″ or larger, and statement photography.
For stability, position-leaning art above furniture when possible, creating a visual anchor point. If placing directly on the floor, use clear rubber bumpers at the bottom corners to prevent both slipping and wall marking. The slight forward angle creates dynamic visual interest while protecting both your art and your walls.
This method works particularly well for contemporary abstract prints, large-scale photography, or substantial canvas works that might otherwise be challenging to hang. The casual positioning creates an intentionally curated, gallery-like atmosphere that showcases your most impressive pieces.
Easel Displays: Dimensional Art Presentation
For truly special pieces deserving spotlight treatment, decorative easels create museum-quality displays that bring art into three-dimensional space. This approach transforms your art from wall décor to a sculptural focal point.
Best for: Featured statement pieces, particularly textured works that benefit from dimensional viewing.
Modern decorative easels have evolved far beyond the traditional wooden tripod—contemporary options include sleek metal stands, clear acrylic displays, and adjustable platforms that complement any design aesthetic. Position easel displays near natural light sources (but away from direct sunlight) to create dramatic shadows and enhance visual impact.
Interior designers often use easel displays to create room dividers or to anchor awkward transitional spaces like hallway ends or large landings. The three-dimensional presentation invites viewers to experience the artwork from multiple angles, creating a more immersive appreciation than traditional wall hanging.
Clip Systems: Casual Flexibility for Rotating Collections
For those who appreciate frequently changing displays, decorative clip systems offer unparalleled flexibility with minimal wall impact. These playful yet sophisticated solutions work particularly well for lightweight prints, photographs, and works on paper.
Best for: Photography collections, children’s artwork, seasonal displays, and unframed prints.
Create a striking linear display using decorative cord or wire attached to adhesive hooks at either end, then add specialty clips at regular intervals for a gallery-like presentation. For a more organic arrangement, install a wire grid panel with removable clips that allow for endless reconfiguration.
The beauty of clip systems lies in their adaptability—prints can be swapped seasonally, new acquisitions easily incorporated, and arrangements modified on a whim. This makes them ideal for displaying evolving collections or temporarily showcasing new art purchases before committing to more permanent framing and hanging.
Innovative Alternatives for Contemporary Spaces
Beyond the standard solutions, several innovative options have emerged that combine practicality with distinctive style:
Magnetic systems: For contemporary spaces, magnetic paint or discreet metal panels create invisible hanging systems that support substantial weight without wall damage. These work beautifully with specially designed magnetic frames or by adding magnetic strips to existing frames.
Tension rods with display wires: In spaces with architectural features like recessed areas or between columns, tension rods installed with hanging wires create gallery-style displays without a single hole. This system works particularly well for lightweight prints or photographs in matching frames.
Freestanding display walls: For the ultimate flexibility, lightweight freestanding wall panels can be positioned anywhere in your space, creating dedicated display surfaces that protect permanent walls entirely. These portable galleries work beautifully in open-concept spaces or as room dividers.
Pegboard display systems: Modern interpretations of pegboard have transformed this utility material into sophisticated display systems. Available in various finishes and colors, these panels accept specialized hooks and shelves that can support framed pieces while creating visual interest.
The 3-Step Method for Perfect Placement Without Nails
Achieving professional-looking results with nail-free hanging requires attention to positioning. Follow this designer process for perfect placement every time:
- Find your center line: Determine the ideal height for your art (typically 57-60 inches from floor to center for eye-level viewing). Use painter’s tape to mark this height on your wall.
- Create a paper template: For precise positioning without test holes, trace your frame onto kraft paper and mark where hanging hardware sits. Tape this template to the wall, adjusting until perfectly positioned.
- Transfer measurement precisely: Once your template looks perfect, mark your hanging points through the paper, then apply your chosen nail-free hanging solution precisely at these points.
This method eliminates guesswork and prevents multiple adhesive applications that might damage walls or leave residue. For gallery walls, extend this process by arranging all your paper templates before committing to any hanging hardware installation.
Display Your Collection Without the Damage
Your art collection deserves to be seen, not stored away due to hanging limitations. Whether you’re working with rental restrictions, challenging wall surfaces, or simply prefer the flexibility of damage-free solutions, these designer-approved methods ensure your art receives the showcase it deserves.
From sophisticated picture rail systems to casual leaning displays, each approach supports your home decor ideas while preserving your walls. The perfect solution balances your art’s weight and significance with your space’s characteristics and your desire for permanence or flexibility.
Ready to transform your blank walls into personalized galleries? Browse our collection of display-ready framed prints and canvas art, specifically selected to work beautifully with these nail-free hanging techniques. Your perfect gallery awaits—no hammer required.