
Hanging wall art is one of the final steps of decorating your home. Unfortunately, it’s one many people get stuck on. It’s not as hard as you may think, though! From choosing the right height to selecting suitable hardware, each detail makes a difference in how your art looks and feels in your space. If you’re creating a gallery wall, it’s important to plan thoughtfully to reflect your style and create a cohesive display. These techniques can transform any blank wall into a space that truly reflects your personality.
Quick Tips for Hanging Wall Art
- For picture hanging height, a good rule of thumb is for the center to be 57 inches from the floor.
- When hanging art above furniture, 6–10 inches above the furniture is usually preferred.
- Consider the size of your art before you decide where to hang it. Art that’s too small for the space doesn’t generally look good.
- Hanging wall art uses different hardware based on the weight of the piece. Check the weight rating of your hardware before hanging.
Tools to Hang Wall Art
Having the right tools on hand makes all the difference. Basic essentials include:
- Stud finder
- Painter’s tape and/or pencil
- Measuring tape
- Level
- Nails or other anchoring hardware (depending on weight)
- Hammer or drill (depending on hardware)
- Command strips (for lighter pieces where wall damage is undesirable, or to secure bottom edges)
Types of Hardware for Wall Art
There are many different ways to hang pictures and different types of hardware suit different art sizes and wall types. The art you choose will likely come with a hanging method already installed, but if not:
- Sawtooth hangers are great for lighter frames and are easy to use. They mount to the upper edge and are best used with nails. Pick nails with a large enough head that the teeth don’t slip off the front.
- D-rings are more secure and good for heavier pieces. Best used with bear claw hangers (looks like a screw with a push pin head; the ring goes over the push pin) or picture hangers (hooks with brackets to hold the nail diagonally to more securely hold weight).
- Picture wire makes it easy to snag a hook and is usually used for large pieces. Account for the bend of the wire or cord in your measurements. Be aware that the wire can slip over time, so check the alignment every once in a while.
- French cleats are a secure option for very heavy pieces like large framed art. When properly anchored to multiple wall studs, they can easily support 100+ pounds. They look like horizontal bars and work by attaching one to the wall and the other to the art, seamlessly locking together by the frame plate sliding down into the wall plate.
- Stretched canvas is spread over stretcher bars, which can be hung directly over nails or bear claws. You’ll need at least two anchor points to keep the canvas level. You can also install any of the hardware listed above by attaching it to the stretcher bars.
Before choosing hardware, consider the weight of your art and the wall material. Heavy pieces may require multiple hooks or anchors to distribute weight evenly. High-quality hardware also helps protect both the wall and the artwork.
Hanging Wall Art: Step-by-Step Instructions
Before hanging wall art, read through our step-by-step guide to ensure you have all of the information before beginning your project.
- Prepare Hardware:
- Check your hardware, making sure it’s rated for the weight of your artwork. Attach any necessary brackets or rings securely.
- Measure how far down from the top edge of the art you need to secure a nail or hook. If your wall art has a wire hanger or picture cord, you’ll need to account for how it will bend under weight.
- If you’re hanging a stretched canvas, the stretcher bars will rest directly on the nails or hooks. You’ll need two to ensure the canvas stays level.
- If you need more than one anchor point, lay a piece of tape along the back of the piece, poking holes or making marks at each anchor point. You can then lay the tape on the wall to ensure the holes are level.
- Measure down from the mark on the wall to where you need to place your nails or hooks, creating new marks for the anchor points.
- Measure and Mark:
- Find the vertical midpoint of your art piece by measuring 57 inches up from the floor.
- Take the vertical length of your wall art and divide it by two. Measure that many inches above your vertical center and make a light pencil mark, or use the edge of a piece of tape.
- Put your level against the top mark and draw a level, horizontal line to find the top edge, if desired.
- Hang and Level:
- Double-check that your marks are level before making holes.
- Use a hammer or drill to secure the hanger(s) to the wall.
- Once in place, carefully hang the art and use a level for any final adjustments.
How High to Hang Pictures
The general rule is to hang the center of your artwork at eye level, typically about 57 inches from the floor. Another way to think about it is to divide your walls into four equal horizontal sections and hang your artwork in the third section up from the floor.
If you’re hanging art above a sofa or other furniture, keep it around 6 to 10 inches above the furniture for a comfortable viewing height. For gallery walls, treat the entire grouping as one single “unit,” aligning the center of the group at eye level.
For walls without furniture, consider lowering the art slightly below eye level, especially in more intimate spaces where you expect to be sitting often. This helps create a balanced look that’s easy to view, but you may need to adjust depending on ceiling height and furniture. If you have very tall ceilings, for example, find a sensible visual “cutoff point” and treat that as the “ceiling.”
Wall Art Placement
Choosing the right spot is essential to balance your space. Consider both the size of your wall and the scale of your art. Smaller pieces can get lost on expansive walls, while oversized art can overwhelm a narrow space.
It’s also important to think about orientation. For example, a large open wall above a sofa often calls for a horizontal piece or gallery. This helps engage more wall space.
You should also think about whether you’re working with a glossy framed print or canvas art. Framed, glossy prints will reflect more light and have a glare in wall areas that get lots of sun. You don’t need to worry about this as much when hanging a canvas print.
When hanging art over furniture, such as a couch or console, choose a piece (or arrangement) that spans half to two-thirds the width of the furniture. This balance prevents the art from looking too small or isolated. Leave enough open space around the art so it doesn’t feel cramped next to other artwork, ceilings, walls, or furniture. In a gallery wall, an equal amount of space between pieces is usually best.
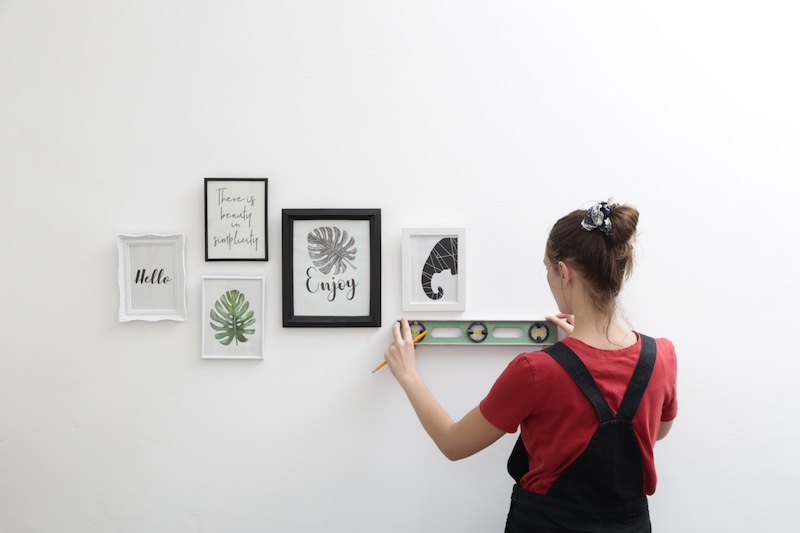
How to Hang Art Gallery Style
If you’re looking for creative wall art ideas, a gallery wall offers an opportunity to showcase your personality and style. Start by planning the layout before making any holes in the wall! Arrange your pieces on the floor, or use painter’s tape to outline where each piece will go. You can even cut out silhouettes from paper or cardboard to tape to the wall.
Gallery walls can have a variety of shapes. You can hang art to follow the wall of a staircase up, curve it around a window or chair, or other arrangements. For balance, anchor the gallery wall with one large piece, then arrange the smaller pieces around it. You can have your anchor take center stage, or place it off-center and have a secondary anchor using your next-largest piece.
Think about mixing orientations of pieces and pairing different frame colors and styles. If your pictures are all the same size and orientation, a grid layout creates a more traditional, orderly look. On the other hand, varying sizes, styles, or colors add a more eclectic, curated vibe. Grouping pieces by color palette, artist, or other theme can also help your gallery wall look cohesive and intentional.
Hanging Art Without Nails
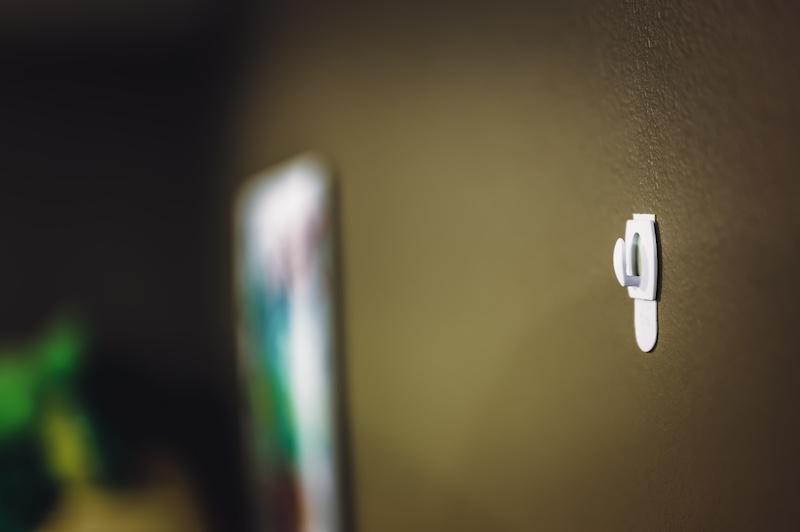
If you need to hang art without using nails, consider Command Strips or hooks for lightweight pieces. Even if you’re using nails, securing the bottom corners with Command Strips can be a great way to prevent the art from being knocked askew if you’re hanging wall art in a home with pets or small children!
Another way to hang wall art without nails is to not hang them on the wall at all—set pieces on top of furniture like dressers or hallway tables and lean them against the wall. You can even layer pieces this way for added effect. Or, you can display art on easels, whether freestanding or tabletop.
Bringing It All Together
Hanging wall art is one of the easiest ways to elevate your space, whether you’re going for a single statement piece or an entire gallery wall. With some planning, the right tools, and careful placement, you can create a polished, inviting display that complements your home. Follow these steps and trust your instincts to build a unique art arrangement that brings warmth, color, and personality into any room.