
Hanging a canvas print on the wall can be intimidating. The process may differ from how you hang art normally, but these quick tips make it easier than ever. Start by clearing the area and measuring your canvas dimensions to guarantee it fits perfectly on your wall. You’ll then need to gather a few essential tools and select the right hanging hardware based on the canvas’s weight. If you’ve chosen the perfect wall art, you don’t want to leave it lying around on the floor. Use these tips to get your canvas prints hanging on your walls, not your to-do list.
3 Quick Tips For Hanging a Canvas
- Weigh your canvas to select the appropriate hanging method and tools.
- Put the center of the canvas at 57 inches from the floor for ideal placement.
- Use a spirit level to ensure your markings and hangings are straight and aligned.
Preparing Your Wall Space
Whether you’re hanging canvas or a framed print, you can start the process by clearing the wall area of furniture and debris, ensuring you have enough space to work comfortably. Identify whether your wall is drywall, concrete, or brick, as this will influence the hanging methods you’ll use for your canvas prints.
Tools You May Need
- Measuring Tape: To measure the wall and ensure precise placement.
- Pencil or Painter’s Tape: For marking the desired position without damaging the wall.
- Level: To ensure the artwork hangs straight.
- Hammer: For driving nails into the wall, if using nails.
- Screwdriver: If screws or wall anchors are required.
- Sawtooth Bracket: A ridged metal attachment that can be screwed to the canvas’ frame, designed to interlock with nails or screws in the wall.
- Nails or Screws: To secure the canvas to the wall.
- Wall Anchors: For heavier pieces, to prevent the canvas from pulling out of the wall.
- Picture Hanging Hooks: Designed to support lightweight canvas art.
- Stud Finder: To locate studs for a more secure hanging point.
- Adhesive Hooks or Strips: For damage-free hanging, especially in rented spaces.
- Drill: If you need to make pilot holes for screws or wall anchors.
- Rubber Mallet: For gently tapping in hooks or nails without damaging the wall.
- Gloves: Optional, to keep the canvas and wall clean during installation.
Plan the Placement
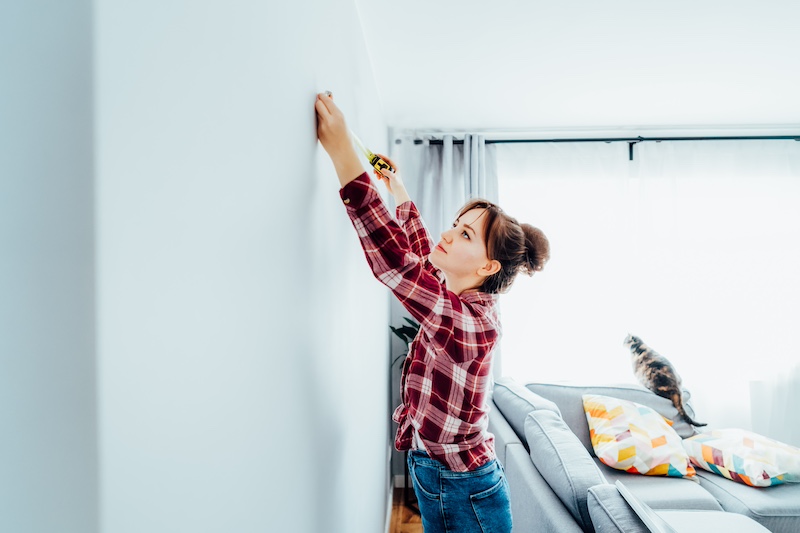
Aim for about 57 inches from the floor to the center of the canvas, maintaining at least 6 inches above any furniture. This will put your piece at eye level for most people and prevent it from looking crowded.
Here are some tips to help you plan the perfect placement:
- Measure the Wall: Start by measuring the wall width where you want to hang your canvas art. This will help you determine the best placement for it and ensure it fits comfortably within the space.
- Measure the Art: Next, measure the width of your canvas art. This step is essential to ensure the artwork fits nicely on the wall without looking cramped or too spread out.
- Consider the Furniture: Consider the placement of furniture in the room. Ensure that your canvas art is not obstructed by furniture and that it complements the overall layout of the room.
- Mark the Spot: Use a pencil to mark where you want to hang your canvas art. This will serve as a guide when you begin hanging your canvas, ensuring precise and visually appealing placement.
Using Nails for Hanging
Using nails to hang a canvas is a quick, simple, and cost-effective way to hang wall art in any room. However, since the canvas rests directly on the nails, small variations in nail placement or uneven wall surfaces can cause the artwork to tilt. Adjusting the level may require repeatedly removing and repositioning the nails, which can damage the wall further and make the process frustrating.
Mark your desired locations on the wall with a pencil and a level. When ready, hammer the nails into the wall, exposing about one-third. When you hang your canvas, this will support the stretcher bar—simply rest the wooden frame on the nails.
After hanging your canvas, recheck the alignment with a level to verify it’s straight.
Wire Hanging Method
While nails provide a straightforward method for hanging canvases, wire hanging offers a more flexible and adjustable option for displaying a canvas print.
To hang canvas art using this method, start by measuring 1/3 down from the top on each side of the wooden canvas frame. Mark these spots to install steel eye screws or D-rings on the vertical stretcher bars. Twist the screws in firmly into the wooden frame. The rings should be pointing inward toward the center of the piece.
Cut a piece of steel wire equal to the canvas width plus eight inches for secure looping. Knot the wire through the eye screws, keeping it loose between but tight at the knots.
Hang the canvas at eye level by placing the center point of the wire over a nail or adhesive hook. Use a spirit level to verify straightness, making adjustments as needed. The tighter the wire, the less the canvas will lean forward; however, you may need more than one nail to keep a tight wire level.
Sawtooth Hanger Technique
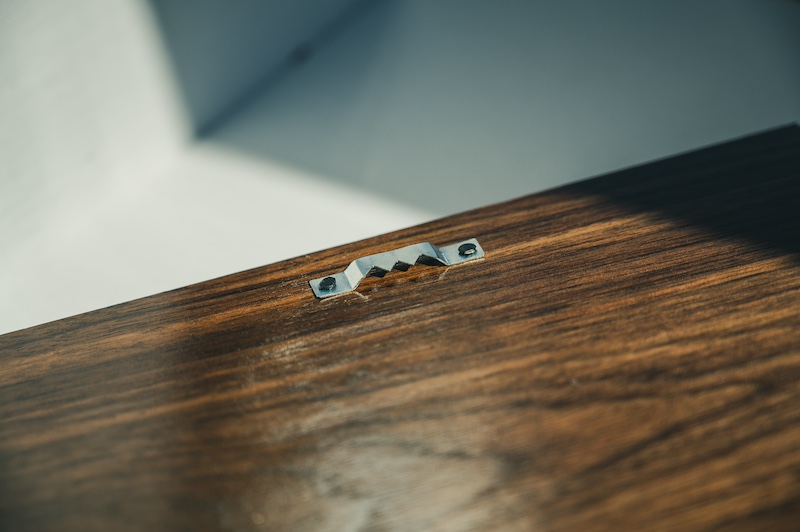
The sawtooth hanger technique effectively hangs a canvas. Start by selecting a sawtooth bracket suitable for the canvas’s weight and size.
Measure and mark the center point of the top wooden stretcher bar for ideal alignment. Once marked, attach a sawtooth hanger there, using nails on both sides to guarantee it’s firmly in place.
Make sure the bracket remains straight during installation. The angle of the sawtooth teeth allows the canvas to rest securely on a nail or hook in the wall.
Adhesive Strips Option
Adhesive strips offer a damage-free solution for hanging canvas art, especially appealing if you’re a renter but suitable for anyone who wants to avoid holes in the walls. These strips typically support up to 16 pounds per set, making them ideal for lightweight artwork.
First, to hang the canvas, verify your wall surface is clean and dry. This enhances the strips’ effectiveness and guarantees secure adhesion.
Mark the corners of the canvas on the wall, then apply the adhesive strips to the back of the canvas. Press the canvas firmly against the wall for the time listed on the package.
Pull the strips straight down if you ever need to remove the canvas. This method should leave no residue, maintaining the wall’s pristine condition.
Common Mistakes to Avoid
When hanging canvas art, it’s easy to make mistakes that can detract from the overall look. Here are some common ones to avoid:
- Hanging the Art Too High: Hanging the art too high can make it difficult to view and throw off the room’s balance. Aim to hang your canvas art at eye level, typically around 57 inches from the floor.
- Hanging the Art Too Low: Conversely, hanging it too low can make it look awkward and distracting. Ensure the bottom of the canvas is at least six inches above any furniture.
- Not Using a Level: Not using a level can result in art that is hung crooked, which can be distracting and unattractive. Always use a level to ensure your canvas art is straight.
- Not Considering the Furniture: Not considering the furniture in the room can result in art that is blocked by furniture or looks awkward in relation to the furniture. Plan the placement of your canvas art with the room’s layout in mind.
- Not Using the Right Hanging Hardware: Not using the right hanging hardware can result in art that is not securely hung and can fall off the wall. Choose the appropriate hardware based on the weight and size of your canvas art.
By avoiding these common mistakes, you can ensure your canvas art is displayed beautifully and securely, enhancing the overall aesthetic of your space.
Hang Canvas Art With Ease
You’re now ready to hang your canvas confidently and finally finish decorating your home. You’ve prepared your wall space, gathered the right tools, and chosen the perfect hanging hardware. You’ve measured, marked, and verified everything is aligned. Whether you’re using nails, a sawtooth hanger, or adhesive strips, your canvas will hang securely and look fantastic—though note that it may be a bit different if you’re hanging a framed canvas print. Remember to occasionally check its alignment and make adjustments if necessary. Enjoy your beautifully displayed canvas print, adding personality and charm to your space!