
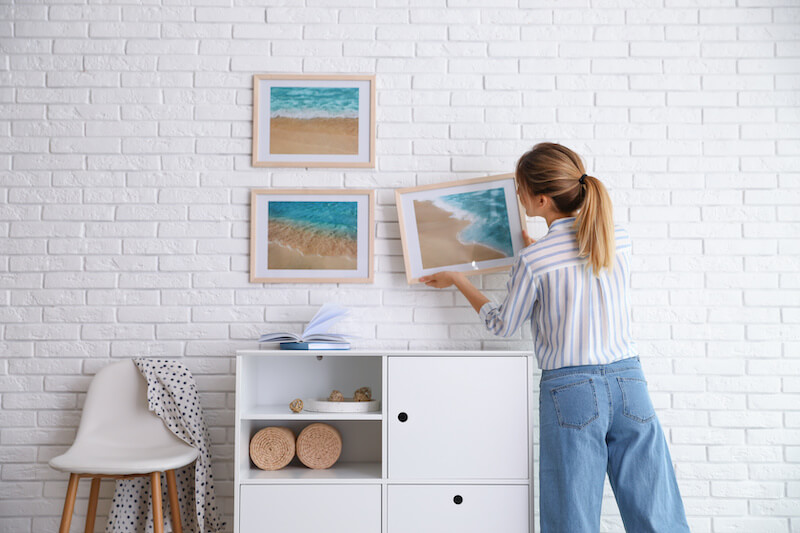
Hanging art on a brick wall is probably easier than you thought. Whether you’re hanging lightweight decor or heavy frames, understanding your options—such as using brick clips, drilling into the mortar, or applying adhesive strips—can help you get your art on the walls and finally finish decorating your home. Discover the best strategies for hanging art on a brick wall.
How to Hang Art On a Brick Wall in 5 Easy Steps
- Choose the Right Hanging Method: Use brick clips or adhesive strips for lightweight art, drill into brick or mortar for heavier pieces, or install picture rails for easy adjustments.
- Plan the Placement: Measure and mark where you want your art to hang using a pencil or chalk. Double-check alignment and spacing before proceeding.
- Drill Pilot Holes: Use a hammer drill with a masonry bit to carefully drill holes into the brick or mortar where the anchors will go.
- Insert Anchors and Hardware: Insert masonry anchors into the drilled holes, then screw in the appropriate hardware, such as hooks or screws, leaving enough room for your art to hang.
- Hang the Art and Adjust: Place the artwork on the hardware, ensuring it’s level and secure. Adjust as needed for proper alignment.
Tools & Materials
- Brick clips or brick-compatible adhesive strips if you want to hang your art without nails
- Hammer drill for drilling holes. You can still use a normal power drill, but the extra hammer motion makes things much faster when dealing with materials as hard as brick.
- Masonry drill bit for drilling holes. These are thicker and sturdier than carpentry bits designed for wood. You may need specialized bits to drill deep or cut through rebar. Carbide or SDS Plus drill bits work best.
- Level and measuring tape for accurate placement
- Soft brush or cloth to clean the brick surface
- Chalk or pencil for marking spots
- Wall anchors for stability
Types of Hanging Hardware for Brick Walls
Hanging a picture on a brick wall requires specialized hardware to ensure stability and protect the integrity of the wall and your artwork. Consider the most common types of hardware designed for brick walls and their best uses.
Brick Clips
- How they work: Brick clips grip the edges of individual bricks, providing a secure and non-invasive way to hang lightweight to medium-weight items.
- Weight capacity: Typically supports up to 25–50 pounds
- Advantages:
- No drilling is required, making them ideal for renters or preserving historic walls.
- Easy to install and remove without leaving marks
- Best for: Lightweight framed art, mirrors, and seasonal decorations
Masonry Screws
- How they work: Masonry screws are designed to be driven directly into the mortar or brick using a drill and masonry bit. They provide a permanent and secure hold.
- Weight capacity: Varies by screw size, generally suitable for heavier artwork
- Advantages:
- Strong and stable for heavy or oversized art
- Can be removed if needed, though holes will remain
- Best for: Heavy frames, large mirrors, or shelves with attached art pieces
Masonry Nails
- How they work: Masonry nails can be hammered directly into brick or mortar. They rely on friction to hold them in place, which can be less secure than screws for heavier items.
- Weight capacity: Generally supports lighter items, up to around 10–20 pounds, depending on the wall material and nail size
- Advantages:
- Quick and simple to install—no need for a drill or anchors
- Suitable for temporary or lightweight installations
- Best for: Hanging lightweight frames or small decor
Wall Anchors with Screws
- How they work: Wall anchors are inserted into pre-drilled holes in the mortar or brick. Once in place, screws are inserted for complete stability. Most drywall anchors will also work for masonry, but double-check your specific product’s ratings.
- Weight capacity: Depending on the anchor type, can support 30 to 100+ pounds
- Advantages:
- Distributes weight evenly, reducing strain on the wall
- Works well for medium to heavy items
- Best for: Medium-weight art, clocks, or layered gallery walls
Specialized Adhesive Picture Hanging Strips
- How they work: Adhesive strips designed for textured surfaces stick directly to painted or clean brick surfaces. Standard adhesive strips may sometimes work, but they don’t generally work well on porous, uneven surfaces.
- Weight capacity: Generally supports up to 16 pounds for lightweight pictures
- Advantages:
- Damage-free and easily removable
- Great for renters or temporary installations
- Best for: Lightweight frames, unframed posters, and small decor
Picture Rails & Hanging Cables
- How they work: Picture rails are mounted along the top edge of the brick wall, allowing hanging cables or hooks to suspend art. This system provides flexibility for rearranging art without additional drilling.
- Weight capacity: Depends on the rail system, often supports multiple pieces of varying weights
- Advantages:
- Minimal damage to the wall
- Easy to change or rearrange artwork
- Best for: Gallery walls or rooms with frequently updated displays
Choosing the Right Hanging Hardware
When selecting picture hooks and hardware for brick walls, consider the following factors:
- Weight of your art: Heavier pieces require anchors or masonry screws for secure installation.
- Style of art: Are you hanging a framed print or canvas? Hanging a canvas print can be easier because they usually weigh less than framed pieces of a similar size.
- Wall condition: Older or crumbling mortar may not support screws or anchors well, making brick clips or picture rails a safer option.
- Permanence: For temporary displays, opt for adhesive strips or brick clips.
- Aesthetic preferences: Decorative hooks or picture rails can enhance the look of your installation.
Steps to Hang Art on a Brick Wall
Preparing the Wall Surface
Preparation is key to a successful installation:
- Clean the brick: Use a soft brush or cloth to remove dust and debris. A clean surface ensures that adhesive strips have the best chance to adhere correctly and that extra dirt won’t make things harder on your masonry bit.
- Mark placement: Use a measuring tape, level, and chalk to mark where the art will hang.
- Check for obstacles: Be mindful of hidden wiring or plumbing in the brick. If there are electrical outlets or water fixtures, the cables or pipes will usually be “chased” in the wall straight up in a vertical line, but not always. Many stud finders have settings for finding electrical cables.
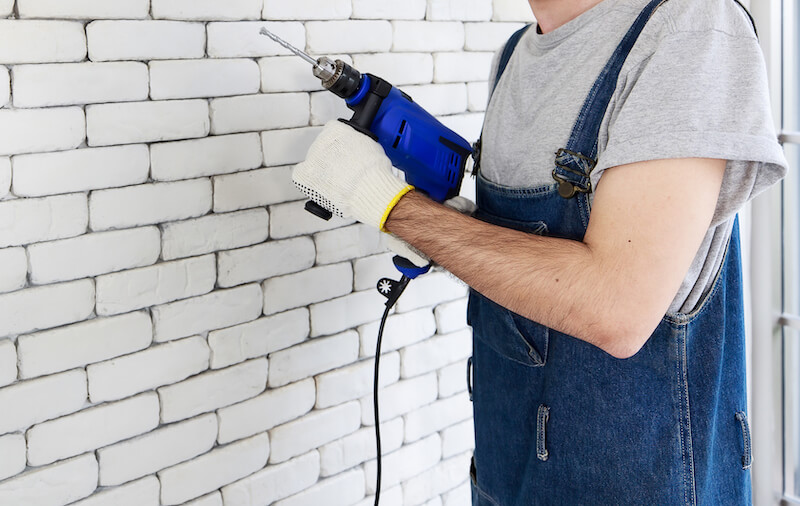
Drilling Techniques
If you’re using a drill, follow these steps for a secure installation:
- Mark the drill spot: After measuring the height for your hanging, use chalk or a pencil to mark the exact spot on the mortar joint.
- Drill into mortar: Drill a masonry bit about 1 inch deep into the mortar. This depth provides enough support for anchors.
- Insert anchors: After drilling, insert wall anchors into the holes. These provide the necessary stability for screws.
- Attach screws: Tighten screws into the anchors, leaving 1/8–1/4 inch exposed to hang the artwork.
- Hang and align: Secure your art on the screws and use a level to make adjustments.
Non-Drilling Options
If drilling isn’t an option, these alternatives can work just as well:
- Brick clips: These clips attach directly to the brick and can hold moderate weights without damaging the wall.
- Adhesive strips: Ideal for lightweight art, adhesive strips designed for textured surfaces stick well to painted brick.
- Picture rails: Though installing the rail itself may require drilling, once installed, this elegant solution allows for easy rearrangement without additional drilling.
Maintenance and Adjustments
Brick walls can expand and contract with temperature changes, which might loosen screws or anchors over time. Periodically check your installation and tighten fixtures as needed. After removing the screws and cleaning out any loose material, you can reset loose masonry screws in several ways:
- Fill the hole with a wood or plastic plug and re-screw.
- Fill the hole with epoxy and insert a wall anchor.
- Use a screw larger than the original hole.
- Drill a new hole to work with fresh masonry in a slightly different spot.
Fill Up Your Brick Wall Space
Similar to hanging art on concrete, hanging art on a brick wall might seem daunting—but with the right preparation and techniques, it’s a straightforward process that can transform your space. Whether you opt for drilling or non-invasive methods, ensure your art is secure and well-placed for maximum impact. With a little effort, you’ll turn your brick wall into a stunning gallery highlighting your style.
Frequently Asked Questions
Is It Better to Drill Into Brick or Mortar When Hanging Art?
Some sources say to drill into the mortar between the bricks, not the brick itself, as drilling into a brick causes permanent damage that’s not easily repaired and can even crack the brick. Others claim that drilling into mortar will cause your decor to come loose as the mortar crumbles under weight or deteriorates with age.
Drilling into brick versus mortar generally comes down to weight. Heavy items, such as hanging plants and TV mounts, can fall when mounted in mortar. On the other hand, lightweight items are typically perfectly secure in mortar, with the bonuses that mortar is far easier to patch if you move things around and that you won’t wear down your masonry drill bit nearly as much.
Do Command Strips Work on a Brick Wall?
Command Strips (and other brands) generally do not work well on brick walls because of brick’s rough and porous surface. However, some specialized sticky hooks or double-sided adhesive tape strips are designed for textured surfaces and may work if the brick is smooth and clean.
How Do You Drill Into Brick Without Cracking It?
To drill into brick without cracking, use a hammer drill with a masonry bit designed for brick or stone. Start by marking the spot and drilling a small pilot hole at a low speed to prevent stress on the brick. Gradually increase the drill speed and pressure, ensuring the bit stays steady. Avoid drilling near the edges of the brick, as this increases the risk of cracking.