
Blank wall staring at you? Triptych artwork ready to hang? You’re not alone in feeling stuck.
A properly hung triptych turns three panels into one eye-catching display. Done right, it becomes the star of your room.
What exactly is a triptych? It’s three related art pieces meant to be displayed together. The word comes from “tri” meaning three. Triptych artwork tells a story across multiple panels, creating depth and visual interest that single pieces can’t match.
Quick Triptych Hanging Tips – Save This!
- Put tape on the wall to map out where your artwork will go before making holes
- Hang the middle at eye level (about 57 inches from the floor)
- Keep 1-3 inches between triptych panels
- Line up the centers perfectly for horizontal arrangements
- Use the same frames for all three panels
- Try different spacing until the visual balance feels right
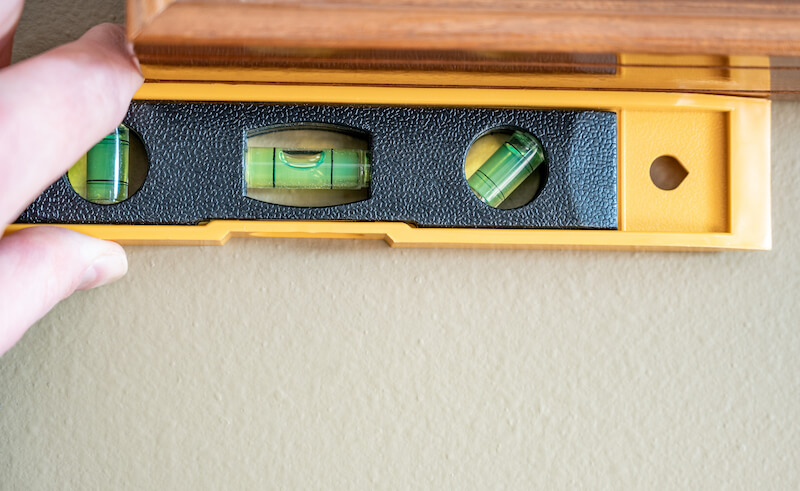
- Use a laser level for the most precise alignment
Share this with anyone who needs help with their triptych wall art!
Why Choose Triptych Artwork?
Triptychs have been capturing viewer’s attention since the middle ages when religious art often took this three-part form. Today, this format works for all sorts of wall art ideas.
Split canvases create dynamic energy in your space. The eye naturally moves across all three panels, engaging with the artwork in a way that single paintings can’t match.
Some benefits of triptych formats:
- They fill blank wall spaces better than single prints
- The multi-panel design creates movement and flow
- Three-part pictures tell a more complete visual story
- They work in horizontal or vertical arrangements
- You can choose canvas prints or framed paper options
Triptych Format Options
Triptychs come in several forms that affect how you’ll display them:
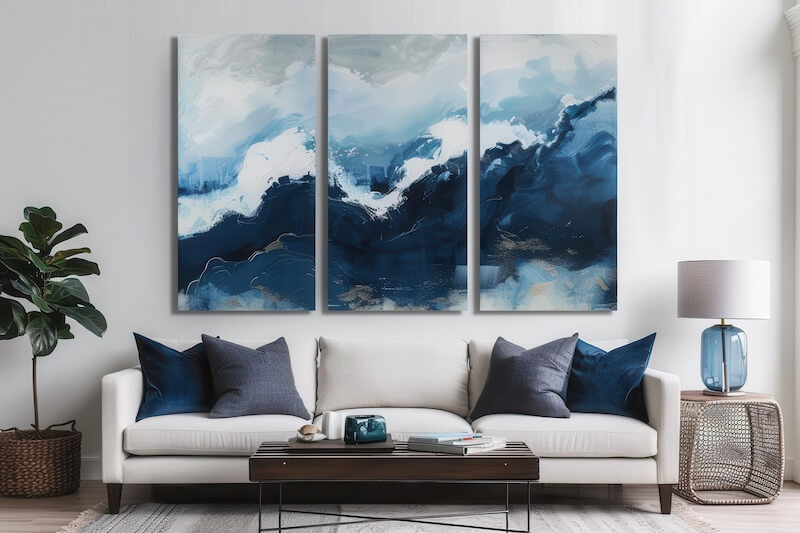
Same image split across panels: This continuous scene flows across all three canvases. Often landscape paintings or photographs use this approach.
Related but different images: Each panel shows a different but related scene. For example, three landscape photographs from the same location.
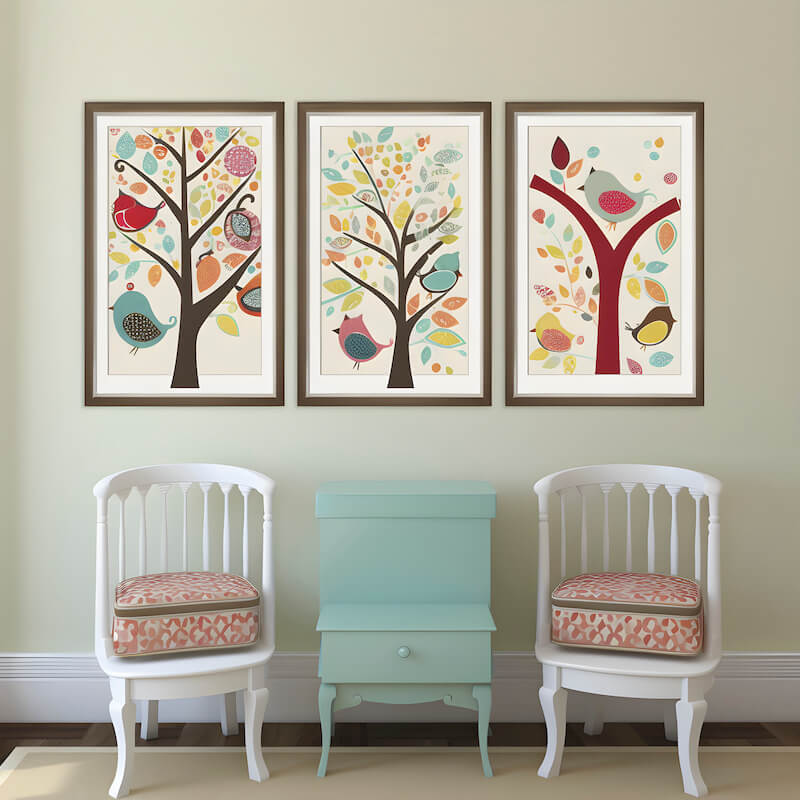
Matching style with different subjects: The same artistic style unites the panels while showing different subjects. Artists often create these as a themed series.
Graduated effect: Colors or forms that progress across the three panels. Many acrylic paintings use this format for abstract designs.
Pick the Right Frame
Frames do more than protect—they finish the look and help your triptych fit your space.
Use the same frames for all three pieces. Different frames break the flow and weaken your artwork’s impact.
Watch frame thickness. Thick frames can chop up a continuous image. Many people choose canvas prints with no frame so the picture flows between panels.
Frames to match your style:
- Slim metal frames for modern rooms
- Wood tones for cozy or traditional spaces
- Floating frames for a gallery feel
Want a cohesive look? Make sure all three panels use the same size frame. This creates harmony even when the images within differ.
Plan First, Hang Second
Take time to plan before you grab tools. Good prep stops wall damage and makes your display look pro.
Size it right. Your three-piece wall art (in total!) should take up 50%-75% of the wall space or span about half to two-thirds of any furniture below it. This creates good balance.
Consider dimensions. The width of your entire triptych (all three panels plus spacing) should work with your wall size. Measure carefully!
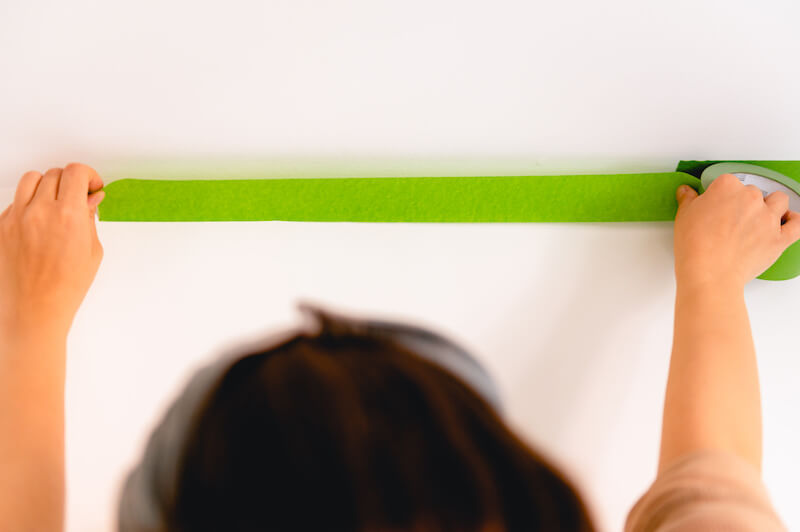
Map it out. Put painter’s tape on the wall to show where each piece will go. This helps you:
- See how it will look before making holes
- Move things around until it feels right
- Spot problems with wall outlets or switches
Eye level matters. Put the middle of your center panel about 57 inches from the floor—that’s what galleries do.
Space panels evenly. The gaps between panels change how your triptych looks:
- 1-3 inches works for most art
- Bigger pieces might need more space
- Keep the same gap between all panels
Leave room above furniture. Keep 4-12 inches between your art’s bottom edge and any furniture below. This stops things from looking crowded.
For example, when hanging above a sofa, make sure the bottom edge isn’t so low that people might bump it when sitting down.
Try These Creative Layouts
The side-by-side horizontal row isn’t your only choice. Try these:
Go vertical. Perfect for tall, narrow walls:
- Stack three panels with the same spacing between them
- Put the largest panel in the middle
- Draw eyes up to make the room feel taller
Mix it up with slight height changes. Break away from perfect lines:
- Vary panel heights slightly
- Keep the middle panel at eye level
- Limit height changes to 2-4 inches so it still looks connected
Work around tricky spots. Adapt to your wall:
- Place panels around windows or lights
- Keep even spacing despite breaks
- Create a look that guides your eye around obstacles
Use corners. When wall space is tight:
- Put the center panel right on the corner
- Place side panels on each wall at the same distance
- Keep height the same for a smooth look
Try a diptych + single. If your wall shape is unusual:
- Group two panels (a diptych) on one side
- Place the third panel nearby with balanced spacing
- Create visual weight that works with your room’s layout
Choosing Art for Different Rooms
Each room has different needs for multi-panel artwork:
Living room: Larger triptychs shine when decorating a living room. Above the sofa is a classic spot. Choose artwork that reflects the mood you want to create—calm landscapes or bold abstract prints.
Bedroom: Select soothing subjects that promote relaxation. The wall above the bed is perfect for a horizontal arrangement, while empty wall corners work well for vertical triptychs.
Dining room: Food-themed still-life paintings or serene landscape scenes work beautifully. Hang them where diners can enjoy the view.
Home office: Choose motivating or focusing images. Abstract geometric forms or peaceful nature scenes can enhance your work environment.
Tools You’ll Need to Hang a Triptych
Grab these before you start:
- Tape measure for exact dimensions
- Painter’s tape
- Pencil
- Hammer or drill
- Level
- Stud finder
- Hanging hardware (see below)
Pick Hardware Based on Weight
For light canvas (under 10 pounds):
- Sticky hanging strips that let you hang art without damaging walls
- Velcro strips for easy adjustments
- Small picture hooks
For medium art (10-20 pounds):
- Regular picture hooks with 1-2 inch nails
- Drywall anchors rated for your art’s weight
- Monkey hooks that spread the weight
For heavy triptychs (over 20 pounds each):
- Toggle bolts for hollow walls
- Wood screws if you find a stud
- French cleats that spread weight across the wall
For special walls:
- Hanging art on concrete walls: use masonry anchors
- Hanging art on brick walls: try brick clips or masonry screws
- Hanging art on plaster walls: use plaster anchors to stop cracks
4 Steps to Perfect Alignment
1. Find your center. Mark the exact middle of your wall as your starting point.
2. Make a level line. Draw a light line 57 inches from the floor with your level. This is your guide.
3. Hang the middle panel first. Line up its center with your wall’s middle mark.
4. Add side panels. Measure out from the center, keeping even spaces (1-3 inches). For exact hanging spots, put a tiny dab of toothpaste on the back of each frame’s hanger, then press against the wall to mark the spot.
The Hanging Process
Now for the actual hanging process:
For canvas prints: Most canvases come ready to hang with attached hardware. Just follow your marks.
For framed paper prints: Check that the hanging wire is tight and doesn’t sag. Test the hanging height before making permanent marks.
For multiple panels with different weights: Adjust your hardware for each panel to ensure they all hang at the exact same height.
Take your time with installation. Great artwork deserves careful handling during the process.
Fixing Common Problems
Uneven walls?
- Put felt pads of different thickness behind frames
- Use adjustable hangers that let you level things
- Add small rubber bumpers at corners to stop tilting
High-traffic areas?
- Use security hardware to prevent bumps
- Add bottom brackets to lock frames in place
- Put museum putty under frame corners to stop shifting
Tough wall materials?
- Drill pilot holes in hard surfaces first
- Put painter’s tape on tile before drilling to prevent chips
- Use the right drill bit for your wall type
Make Your Triptych Pop
Designers use these tricks to make triptych wall art stand out:
Size matters. Match your art to your room:
- Big rooms can handle larger triptychs
- Small spaces look best with smaller pieces
- Think about how far away people will view it
Create balance. Help your triptych work with the room:
- Place art to complement your furniture
- Balance uneven triptychs with smart accessory placement
- Use the rule of thirds for the best look
Connect colors. Let your triptych enhance your room:
- Use your wall art to choose the room’s color palette in pillows, vases or other items
- Choose frame colors that work with your existing wood
- See how light changes colors at different times of day
Final Pro Touches
Check from all angles. Step back often to look. Even tiny tilts can ruin the flow of your triptych wall art.
Think about lighting. The right light makes a big difference:
- Lights above each panel create drama
- Track lighting lets you adjust as needed
- Wall lights on each side add elegance
Change your arrangement seasonally. Some collectors have multiple triptychs they rotate through the year, matching artwork to the season.
Consider a triptych mural effect. When decorating large walls, multiple triptychs can create a mural-like display when arranged with care.
Finish like a pro:
- Clean glass or surfaces after handling
- Wipe away pencil marks or tape
- Take pictures from different spots to show off your work
With good planning and careful hanging, your triptych will become the star of your room. Take your time with each step. You’ll love how your newly hung triptych wall art transforms your space.
Whether you choose photographs, paintings, or digital prints, the three-panel format creates visual interest that single pieces just can’t match. The process of hanging them correctly is so worth the extra effort!